How to integrate with quickbooks: a quick, proven setup guide
Discover how to integrate with quickbooks using Booksmate to connect apps, sync invoices, and save hours on data entry.

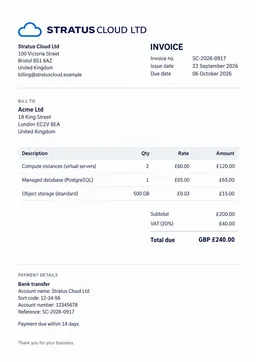
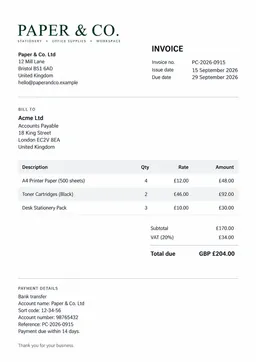
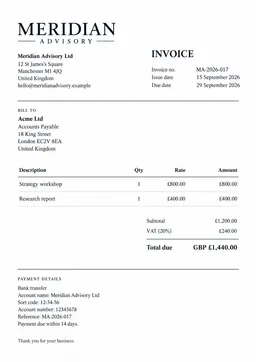
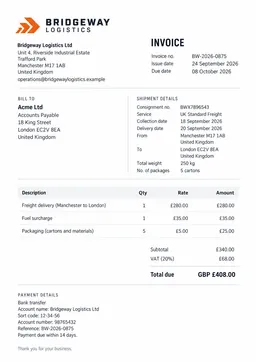
Let's be honest: you know that end-of-the-month feeling all too well. You're drowning in a sea of invoices from what feels like a dozen different client portals—Amazon, Stripe, Google, you name it. That manual data entry grind isn't just a time-sink; it's a breeding ground for burnout and costly errors.
When you integrate with QuickBooks, you're not just adding another tool. You’re completely overhauling that chaotic process and turning it into a smooth, automated workflow that actually works for you.
Why QuickBooks Integration Is a Game-Changer for Modern Bookkeepers
Manually downloading, sorting, and keying in invoice data is the biggest bottleneck I see in modern bookkeeping and accounting practices. It’s more than just tedious. Every time a human touches the data, there's a risk of error—a simple typo in an invoice total, a miscategorized expense.
We’ve all seen how these tiny mistakes can snowball into a massive headache, leading to inaccurate financial statements, messy tax filings, and hours of painful reconciliation work.
But the real cost? It's the missed opportunity. Every hour spent on clerical work is an hour you can't bill for high-value advisory services. You should be guiding clients on cash flow or forecasting, not chasing down PDFs. This is exactly why a direct integration with a tool like Booksmate is no longer a "nice-to-have."
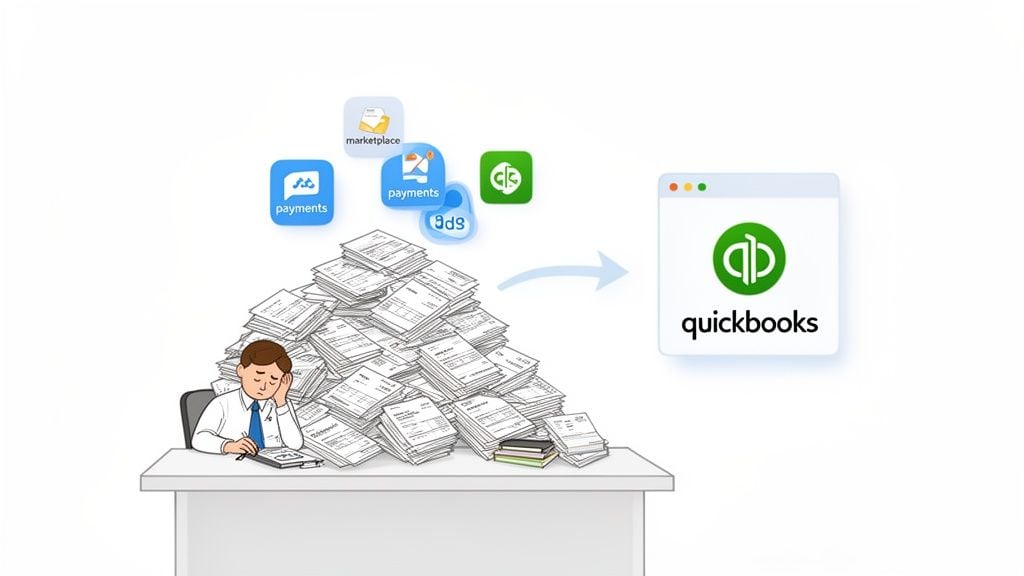
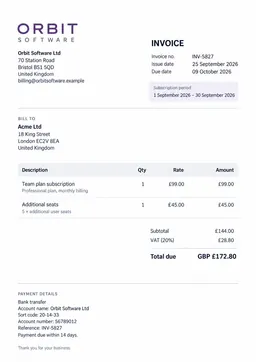
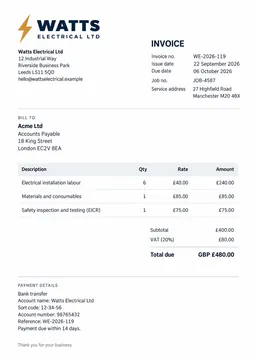
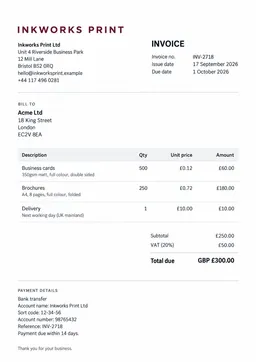
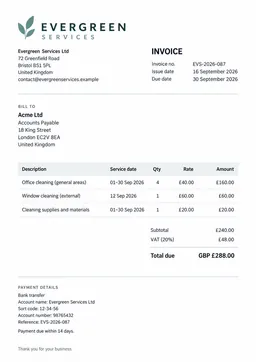
The image above really hits home—it’s all about connecting those scattered data sources into one central, reliable system. Getting this right is the first step toward giving your clients (and yourself) a clear, real-time picture of their finances.
The Big Shift to Automated Accounting
The demand for this kind of efficiency is exploding. QuickBooks is on track to power employment data for over 420,000 U.S. businesses with 1-9 employees by early 2026. For anyone managing that kind of volume, manual entry just isn't an option anymore.
If you want to dig deeper into the nuts and bolts of connecting different business tools, this guide to integration with QuickBooks Online is a fantastic resource.
It's clear that businesses are feeling the pressure to keep up. With 40% of owners admitting they fear falling behind without tech upgrades, automation has become a core part of running a smart business.
By setting up a proper QuickBooks integration, you reclaim your most valuable asset: time. This allows you to shift your focus from data entry operator to strategic financial advisor, which is where your true value lies.
An automated system like Booksmate does the heavy lifting by fetching, processing, and lining up invoices for a simple one-click export into QuickBooks. This isn't just about cutting out mistakes; it's about having an up-to-the-minute view of business finances. You can finally give clients immediate insights to help them make faster, better decisions. It’s the definition of working smarter, not harder.
Manual Entry vs. Automated QuickBooks Integration
To really see the difference, let’s break down a common task. Look at how much time and effort automation saves you when you’re just trying to record a single month’s worth of invoices from multiple platforms.
Task
Manual Process (Without Integration)
Automated Process (With Booksmate + QuickBooks)
Invoice Collection
Log into 5-10+ separate portals, search for invoices, and download each one individually.
Booksmate automatically fetches all new invoices from connected accounts every 24 hours.
Data Entry
Open each PDF, manually type vendor name, invoice number, date, and line items into QuickBooks.
All key data is automatically extracted from the invoice and pre-filled, ready for review.
Categorization
Manually select the correct expense account (e.g., "Software," "Advertising") for each invoice.
Set up rules to automatically categorize expenses from specific vendors.
Error Checking
Hope for the best, or spend extra time double-checking every entry for typos and mistakes.
Data is pulled directly from the source, virtually eliminating human data entry errors.
Time Spent (per month)
4-8+ hours, depending on client complexity.
Under 30 minutes for review and a one-click sync.
The table makes it pretty obvious. The hours saved are substantial, and that's time you can now pour back into growing your practice and serving your clients on a much deeper level.
Setting Up Your Accounts for a Flawless Connection
Jumping straight into connecting two powerful systems without a little prep is like starting a road trip without checking your tires. A few minutes of groundwork now will save you hours of headaches later. Trust me, getting this right from the start makes all the difference.
Think of it as setting the stage. We want to make sure both Booksmate and QuickBooks are speaking the same language before you even introduce them. This simple step sidesteps the most common errors I see that lead to mismatched data and sync failures.
Do You Have the Keys? Check Your Admin Permissions
First things first, you need the right set of keys to unlock the connection. In QuickBooks Online, this means you absolutely must have Admin-level permissions. Without them, you won't be able to authorize Booksmate to access your company file, and the process will stop before it even starts.
It's easy to check:
- Log in to your QuickBooks Online account.
- Click the Settings gear icon, then head to Manage Users.
- Find your name in the list and make sure your role is listed as "Company Admin" or "Primary Admin."
If you’re not an admin, you'll need to ask the primary admin on the account to either bump up your permissions or handle this initial connection themselves. Getting this sorted out now avoids hitting an immediate, frustrating roadblock.
Tidy Up Your Chart of Accounts
Your Chart of Accounts is the backbone of your entire bookkeeping system. If it’s messy or disorganized, you're just asking for confusion when you start mapping data from Booksmate. Take a few minutes to give it a quick review in QuickBooks.
Ask yourself a few questions:
- Are there duplicate accounts sitting around (like "Office Supplies" and "Supplies-Office")? Go ahead and merge them.
- Are the account names crystal clear? If you have to guess what an account is for, rename it.
- Have you set up the specific expense accounts you'll need for the types of invoices Booksmate will be sending over?
Pro Tip: Here’s a little trick I’ve learned over the years: set up a dedicated "Clearing Account" in QuickBooks. I usually make this an "Other Current Asset" type. You can use it as a temporary holding spot for any transactions that need a second look, which keeps them from getting accidentally posted to the wrong expense account.
This little bit of housekeeping ensures that when you get to the data mapping stage, you have a clean, logical list of destinations for your incoming data.
Match Your Supplier and Vendor Names
This is probably the most common—and easily avoidable—hiccup in the whole process. Booksmate pulls a supplier's name from an invoice, and it needs to find an exact match in your QuickBooks vendor list to sync correctly.
For example, if an invoice says "Google LLC," but your vendor in QuickBooks is just "Google," the system might not find a match. At best it will flag an error, and at worst it could create a duplicate vendor, which is a pain to clean up.
Before you connect, run a quick comparison. Export your vendor list from QuickBooks and your supplier list from Booksmate. Put them side-by-side and scan for any differences. Standardizing the names in both systems is a simple check that leads to a 99% reduction in those annoying "vendor not found" errors.
And one final piece of advice before you start: always, always back up your QuickBooks company file. It's a simple safety net that provides total peace of mind, letting you easily roll back if anything unexpected happens.
Connecting Booksmate and QuickBooks Step by Step
Alright, with your accounts all prepped and tidy, it’s time for the main event—making the actual connection. This part might sound a bit technical, but I promise it’s much more straightforward than you think. We’ll walk through it together so you can confidently integrate with QuickBooks and get your systems talking to each other.
You'll kick things off from your Booksmate dashboard. The whole process is built around a secure, modern authorization flow that keeps your sensitive info safe while giving Booksmate just enough permission to do its job. Let's dive in.
Kicking Off the Connection from Booksmate
First things first, log in to your Booksmate account. Find the 'Integrations' or 'Connections' tab in your main menu. This is your command center for linking up with all your other tools.
Once you’re there, you'll see a gallery of available apps. Just find the QuickBooks logo and hit “Connect.” That one click starts the secure handshake between the two platforms. Booksmate will then send you over to a secure Intuit login page.
This is a critical security step. You're putting your credentials directly into the QuickBooks site, not Booksmate. This is done using a protocol called OAuth 2.0, which is the gold standard for this kind of thing. It means Booksmate never actually sees or stores your QuickBooks password, keeping your financial data completely locked down.
Authorizing and Granting Permissions
After signing in with your QuickBooks login, you'll land on an authorization screen. This is simply QuickBooks asking for your permission to allow Booksmate to access certain bits of data.
It's good to know exactly what you're approving here. Typically, Booksmate needs access to:
- Company Information: Just to make sure it's connecting to the right business file.
- Vendors: This lets it match suppliers from your invoices to the correct vendor records.
- Accounts: So it can post expenses to the right categories in your Chart of Accounts.
- Bills and Invoices: To create the actual entries from the documents you process.
Giving these permissions doesn't hand over the keys to the kingdom. It only allows Booksmate to perform the specific, automated tasks you want it to. Once you click "Authorize," you've given the green light for the two systems to start working together.
Think of it this way: you’re not giving Booksmate the master key to your entire office. You're just giving a trusted colleague a key to a specific filing cabinet they need to do their job. You're always in control.
Selecting Your Company File
Do you manage multiple businesses in one QuickBooks account? If so, you’ll see one quick extra step. QuickBooks will ask you to choose which company file you want to connect. This is a big one, so pause for a second and make sure you pick the right one.
Trust me, connecting to the wrong file can create a real headache by syncing data to the wrong set of books. It’s a messy situation that’s incredibly easy to avoid just by double-checking the company name before you click.
After making your choice, you’ll be automatically redirected back to your Booksmate dashboard. You should see a nice little confirmation message pop up, and the QuickBooks logo in your integrations list will now show a green "Active" or "Connected" status. And that's it! The platforms are officially linked and ready for the next phase: data mapping.
The flowchart below is a great visual recap of the prep work we've just covered.
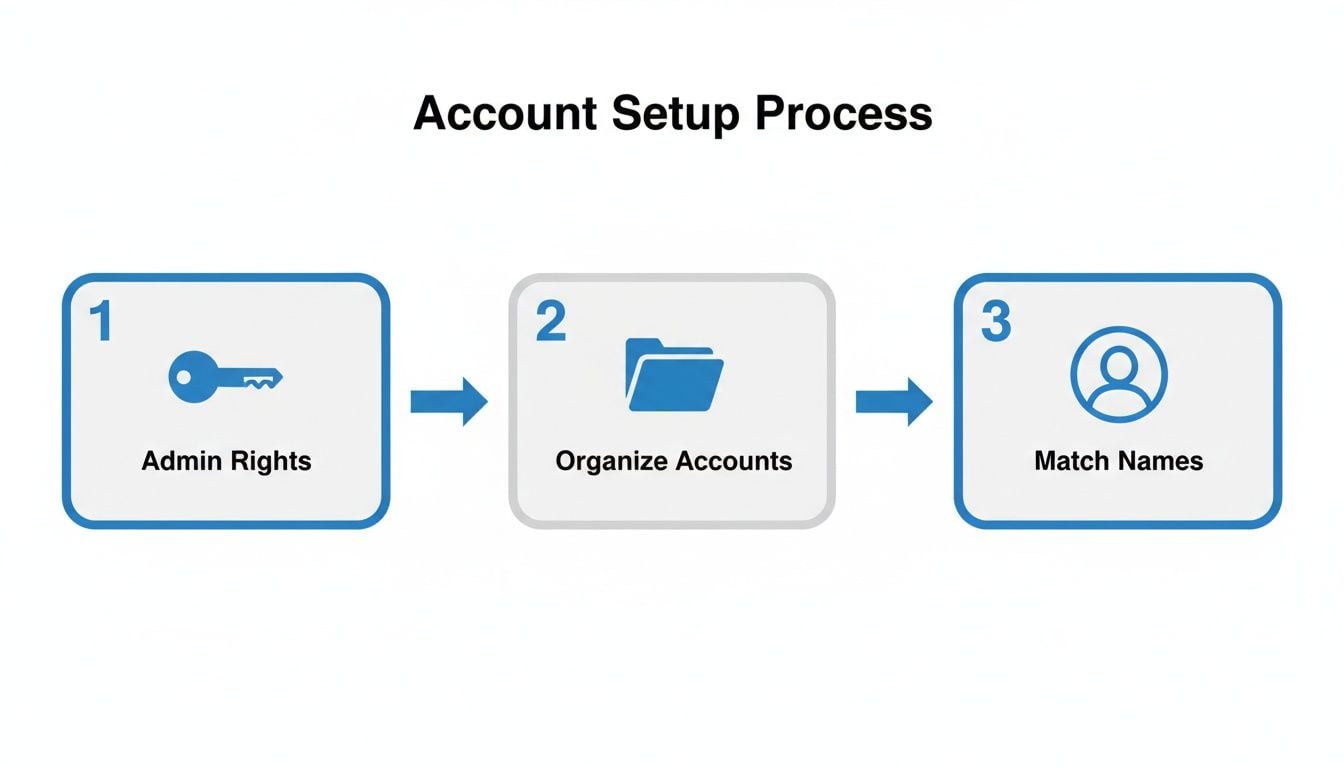
It really drives home the point that having the right permissions, clean accounts, and matching names is the foundation for a seamless connection.
Alright, you’ve connected Booksmate to QuickBooks. That’s a fantastic first step, but now for the part that really saves you time: telling your data where to go.
This is called data mapping, and frankly, it's the secret sauce to getting your automation right. Think of it as creating a permanent set of instructions for every invoice. Get this right, and you'll have a beautifully organized, hands-off workflow.
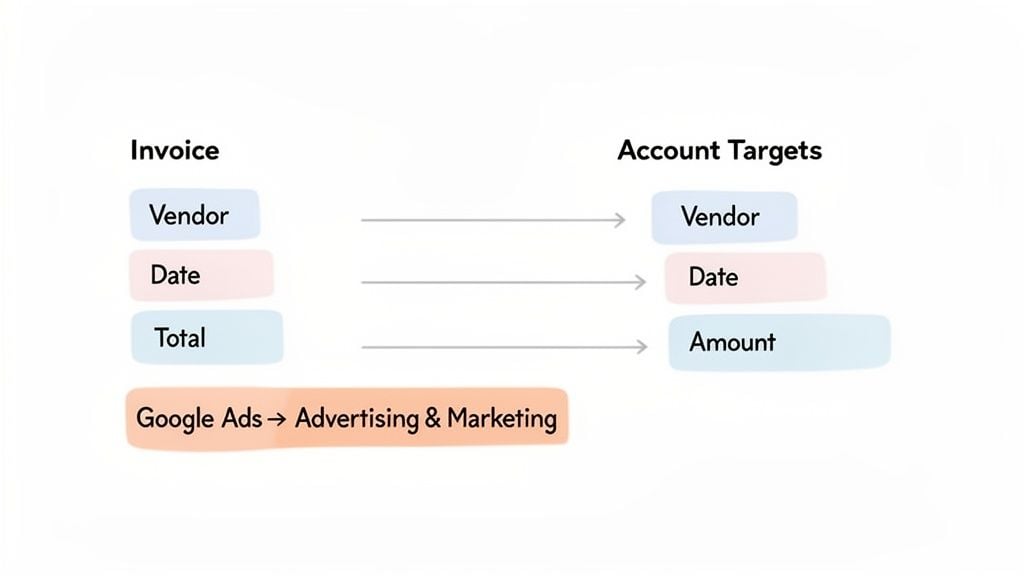
If you skip this or rush through it, you’ll just end up with a digital mess—data dumped into the wrong accounts, creating a bigger headache than the one you were trying to solve. Taking a few minutes to set up these rules ensures every dollar lands exactly where it belongs in your Chart of Accounts.
Getting Familiar With the Mapping Interface
When you pop into your Booksmate dashboard, you'll find the mapping interface. This is your command center for automation. It’s where you’ll build the bridges between the fields on an invoice (like the vendor name or total) and their proper homes inside QuickBooks.
The whole point is to match the source data from an invoice with the correct destination in your books. This is where all that prep work you did cleaning up your vendor lists and Chart of Accounts pays off big time. With a tidy list of accounts, picking the right destination from the dropdown menus is a breeze.
You're essentially creating a series of "if-then" rules. For instance, you can tell the system, "If this invoice is from 'Google Ads,' then I want you to code the total to my 'Advertising & Marketing' expense account." Let's walk through exactly how to do that.
Setting Up Your First Mapping Rule
Let's use a common, real-world example. You get an invoice from Google Ads every single month for a client's marketing campaign. Instead of manually coding it each time, you can create a rule to handle it forever.
Here’s how you’d set that rule up in Booksmate:
- Pinpoint the Vendor: First, you’ll select "Google Ads" from your supplier list.
- Assign the Destination Account: Next, from the dropdown menu showing your QuickBooks Chart of Accounts, you’ll choose your "Advertising & Marketing" expense account.
- Confirm the Core Fields: Booksmate is smart and usually aligns the basic fields for you, but it’s always wise to double-check.Make sure
Invoice Datefrom Booksmate goes toBill Datein QuickBooks. - Check that
Total Amountlines up withTotal Amount. - Ensure
Invoice Numbermaps toBill No..
Once you save that rule, you’re done. From that moment on, any invoice from Google Ads will be automatically categorized, ready for you to approve with a single click. This is the foundation of a powerful integration with QuickBooks.
By creating these default mappings for your most common vendors, you can genuinely automate 80% or more of your invoice processing. This is where you start winning back huge chunks of your day.
How to Handle Taxes and Other Details
But what about the trickier stuff, like sales tax (GST/VAT) or specific line items? The mapping tool is built to handle that, too.
When you're setting up a map for a vendor, you can assign default tax codes. For instance, if a supplier always charges the same VAT rate, you can lock in that tax code within their mapping rule. Booksmate will then automatically apply it to every invoice from that supplier before pushing it to QuickBooks.
This little step eliminates another manual task and seriously cuts down the risk of using the wrong tax rate—a mistake that can be costly and time-consuming to fix. For anyone managing books for businesses with complex tax needs, this feature is an absolute game-changer. Mapping your tax fields correctly from the start keeps your financial reports accurate and compliant, which is non-negotiable in our line of work.
Putting Your Automated Workflow into Action
Alright, you've successfully linked Booksmate and QuickBooks. Now for the fun part: turning that connection into an automated engine that works for you, so you can finally step away from manual data pushes.
With your data fields all mapped out, it's time to tell Booksmate when to send everything over. This is where you build a true "set it and forget it" system. No more remembering to log in every day to sync invoices; you're about to put that entire process on autopilot.
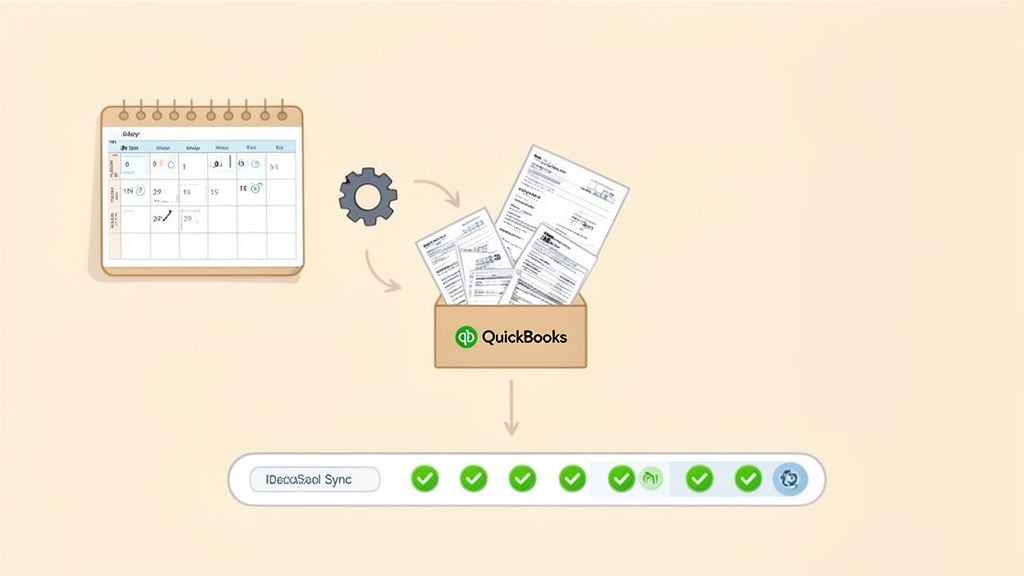
Scheduling Your Automatic Exports
The whole point here is to remove yourself from the equation as much as possible. Dive into your Booksmate settings, and you can schedule automatic exports based on a rhythm that makes sense for your business.
What does that look like in the real world?
- Daily Syncs: If you’re dealing with a high volume of transactions, this is your best bet. A daily push keeps QuickBooks incredibly current, giving you a near real-time snapshot of your finances.
- Weekly Syncs: This is the sweet spot for most small to medium-sized businesses. I often recommend setting it for every Friday afternoon. That way, the entire week’s worth of approved invoices gets logged before you wrap up.
- Manual Control: Even with schedules running, you’re never locked in. You can always hit pause or manually trigger a sync if you need to push a specific batch of invoices through right away.
Setting this up is a breeze. Just pick your frequency, choose a time, and hit save. Booksmate takes it from there, exporting approved documents to QuickBooks without you lifting a finger.
Best Practices from the Pros
An automated workflow is a game-changer, but it's not foolproof. I’ve learned from experience that a little oversight goes a long way in keeping your data clean and accurate.
A weekly reconciliation check is non-negotiable. Seriously. Block out 15 minutes every Friday to cross-reference your Booksmate export log with the expense register in QuickBooks. It's the best insurance policy against tiny discrepancies that can grow into big headaches.
This quick review is also how you'll catch any sync failures. The Booksmate dashboard has a handy section for sync errors that tells you if an invoice got bounced and why. Most of the time, it's a simple fix, like a new vendor that just needs to be added in QuickBooks first.
This push to integrate with QuickBooks is part of a much bigger shift. A 2026 Intuit report found that a staggering 40% of business owners fear they'll fall behind competitors if they don't adopt new platform upgrades and automations. For us bookkeepers, this is how we scale our services and free up time for the advisory work that clients really value.
As you build out your systems, learning about other effective business automations can give you an even bigger edge.
Communicating the New Workflow
Don't forget the human side of this. Rolling out an automation isn't just a tech change—it's a process change. It’s vital to get your clients or internal team on the same page.
Here’s what I tell my own clients:
- Faster Updates: Let them know their books will be updated far more frequently, giving them a clearer, more current picture of their company's financial health.
- Improved Accuracy: Emphasize that automation virtually eliminates the typos and human errors that inevitably happen with manual data entry.
- Your Evolving Role: Frame this as a strategic upgrade for them. You're shifting your focus from tedious data entry to providing higher-level insights that can help them grow.
When you clearly explain the benefits, you transform a simple software integration into a powerful business upgrade that everyone can get excited about.
Working Through Common Integration Hiccups
Even with a perfect setup, integrations can sometimes hit a snag. But don't worry, before you even think about raising a support ticket, most of the common issues are things you can sort out in a minute or two. Think of this as your go-to first-aid kit for your automated workflow.
The most frequent error I see is 'Authentication Token Expired'. This sounds a lot more technical than it is. It's just QuickBooks' security doing its job by asking you to periodically re-confirm that Booksmate has permission to access your account. To fix it, simply pop over to the integrations page in Booksmate, disconnect QuickBooks, and then immediately reconnect. That's it! This simple action re-authorizes the connection and gets your data flowing again.
Diagnosing Sync Errors
When a specific invoice or payment fails to sync, it's almost never a system bug. It’s usually a simple data mismatch. The error message you see in your Booksmate dashboard is your best friend here, and it typically points to one of two common problems.
First, double-check for mismatched vendor names. If Booksmate sends an invoice for "Stripe Payments" but your vendor in QuickBooks is listed as just "Stripe," the system can't find a match and will pause the sync. The fix is easy: just edit the vendor name in QuickBooks so it perfectly mirrors the source.
The second common culprit is trying to post to a closed accounting period. If you’ve already closed the books for last month, QuickBooks will naturally reject any new entries trying to post to that period. You can either adjust the invoice date in Booksmate to the current open period or temporarily reopen last month's books in QuickBooks to let it through.
As a best practice, I recommend taking a quick five-minute look at your sync error log once a week. You’ll find that most issues take less than 60 seconds to resolve once you know what you’re looking for, which keeps small problems from piling up.
A Quick Troubleshooting Checklist
If you're still stuck, run through this quick checklist. I find this process solves the vast majority of sync problems without needing to call for backup.
- Check the Connection: Is the QuickBooks integration showing as 'Active' in your Booksmate settings? If not, a quick disconnect and reconnect should do the trick.
- Read the Error: What does the error log say? It will give you specific clues like "Vendor Not Found" or "Invalid Account."
- Verify Vendor Names: Does the vendor name on the invoice exactly match what you have in QuickBooks, character for character?
- Confirm the Accounting Period: Is the date on the invoice within an open accounting period in your QuickBooks file?
The way we integrate with QuickBooks is always getting smarter. We're seeing a huge push toward more intelligent systems, with AI adoption in small businesses expected to hit 68% by 2026. This means tools are getting better at flagging potential issues for you, turning what used to be a data headache into a quick fix. And with thousands of businesses still relying on QuickBooks Desktop, smooth QBO integrations are more critical than ever for modern platforms like Booksmate. For a deeper dive into these trends, you can check out the full findings in the Intuit annual report.
Common Questions About QuickBooks Integration
Whenever we talk about connecting a new tool to QuickBooks, a couple of big questions always pop up, especially around security. It's only natural. We're talking about sensitive financial data, so let's get those concerns out of the way right now.
First off, how secure is this connection? We get it. Your data's security is non-negotiable. The link between Booksmate and QuickBooks is built on OAuth 2.0, which is the gold standard for this kind of thing. In simple terms, this means Booksmate never actually sees or stores your QuickBooks login details. You're just granting specific permissions, which you can revoke at any time.
All the information moving between the two systems is fully encrypted, both when it's in transit and when it's stored.
Managing Your Invoice Data
"Okay, but what about all my old invoices?" That's usually the next question. And yes, you can absolutely sync your past documents. The integration isn't just for new invoices moving forward.
You can easily go into your Booksmate dashboard, pull up a batch of historical invoices or receipts, approve them, and send them straight over to QuickBooks. This is a lifesaver for cleaning up a backlog or getting a new client's messy books in order.
And what if you need to hit the pause button? Disconnecting is straightforward and, importantly, completely safe.
It simply stops the automatic data sync. Nothing gets deleted. All your existing information in both Booksmate and QuickBooks stays right where it is.
If you decide to reconnect down the road, you just go through the quick authorization process again. The best part? Booksmate remembers your previous mapping settings, so you can pick up exactly where you left off without having to reconfigure everything from scratch. It’s designed to be flexible and completely stress-free.
Ready to stop chasing invoices and start automating your bookkeeping? With Booksmate, you can automatically collect documents, extract data, and sync everything flawlessly. Start your free trial of Booksmate today and reclaim hours of your valuable time.